1
Click Mass Texting, Emails tab on the left panel and select Campaigns and Promotions
0:19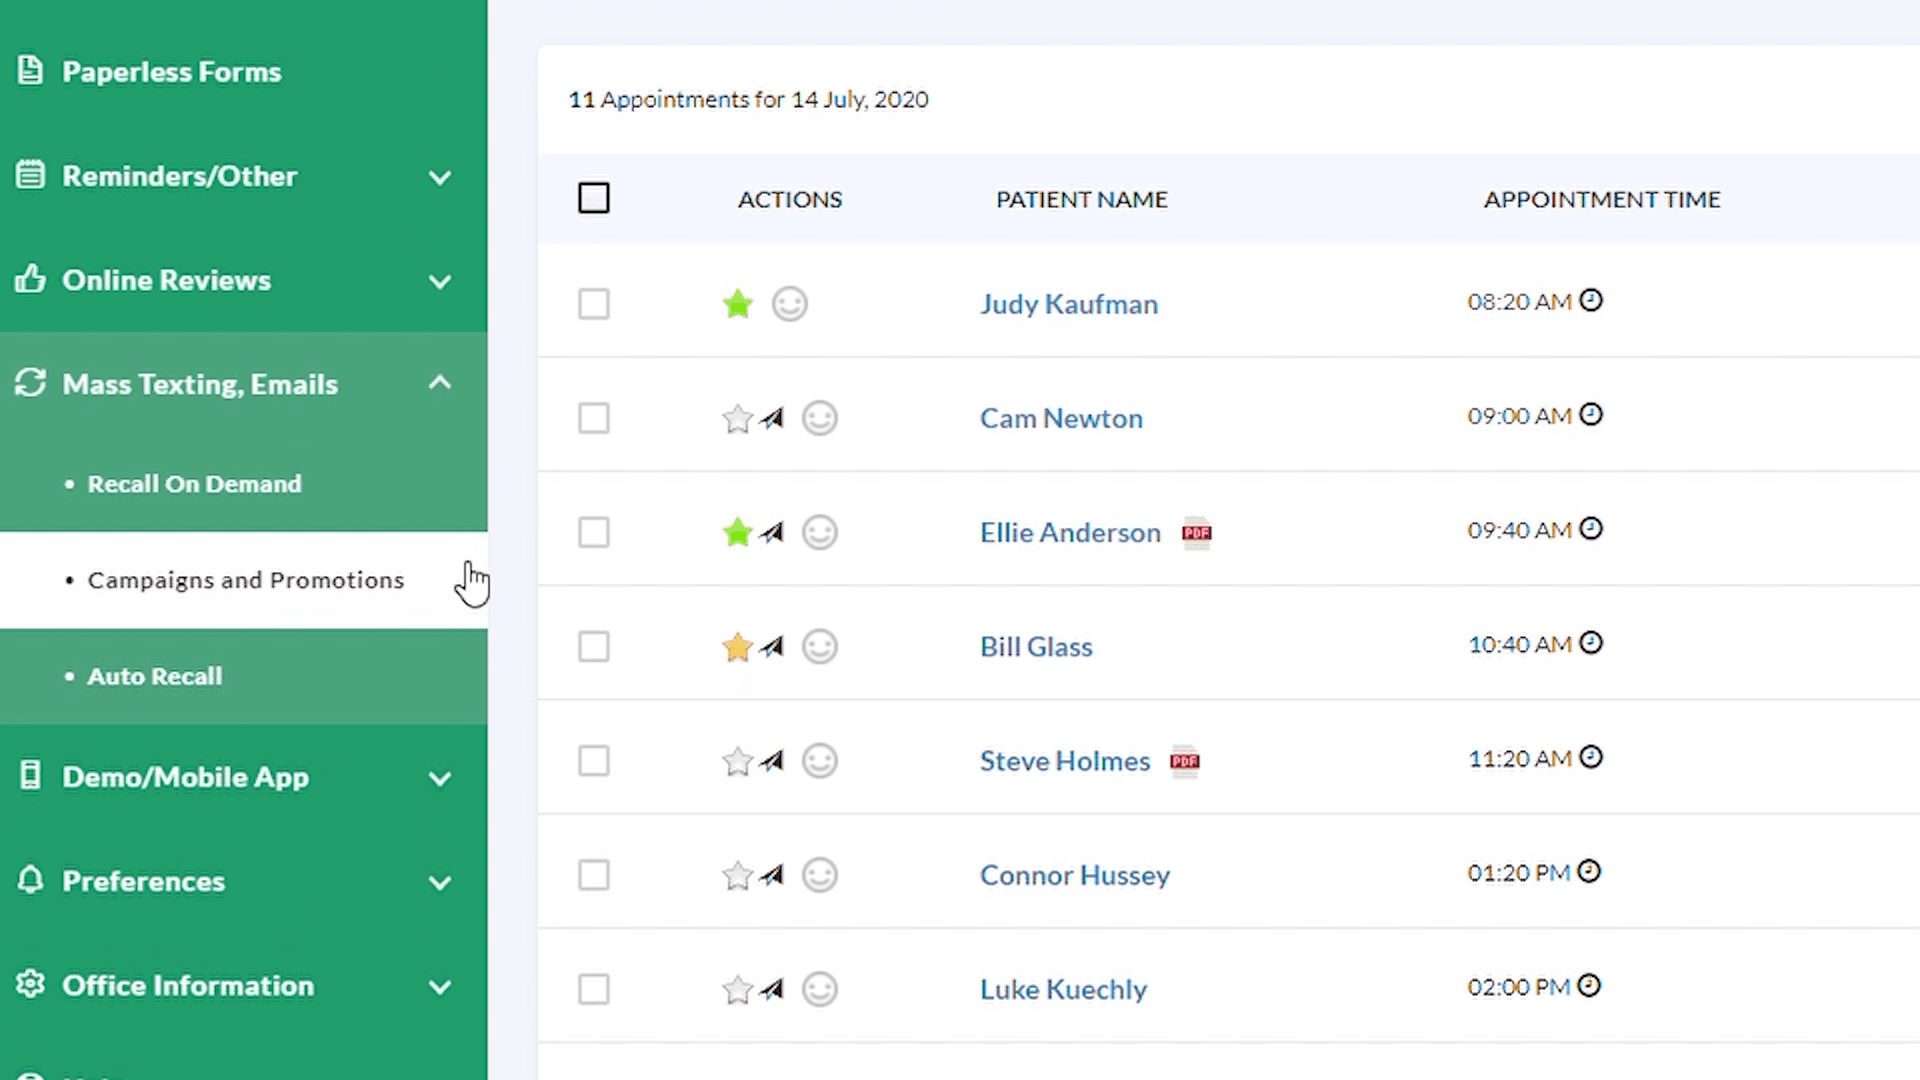
Create an email campaign, choose the patients who should receive it, select a template, and review the campaign before sending.
Click Mass Texting, Emails tab on the left panel and select Campaigns and Promotions
0:19To send a new message, click on Send New Campaign, on the top right corner of the page.
0:30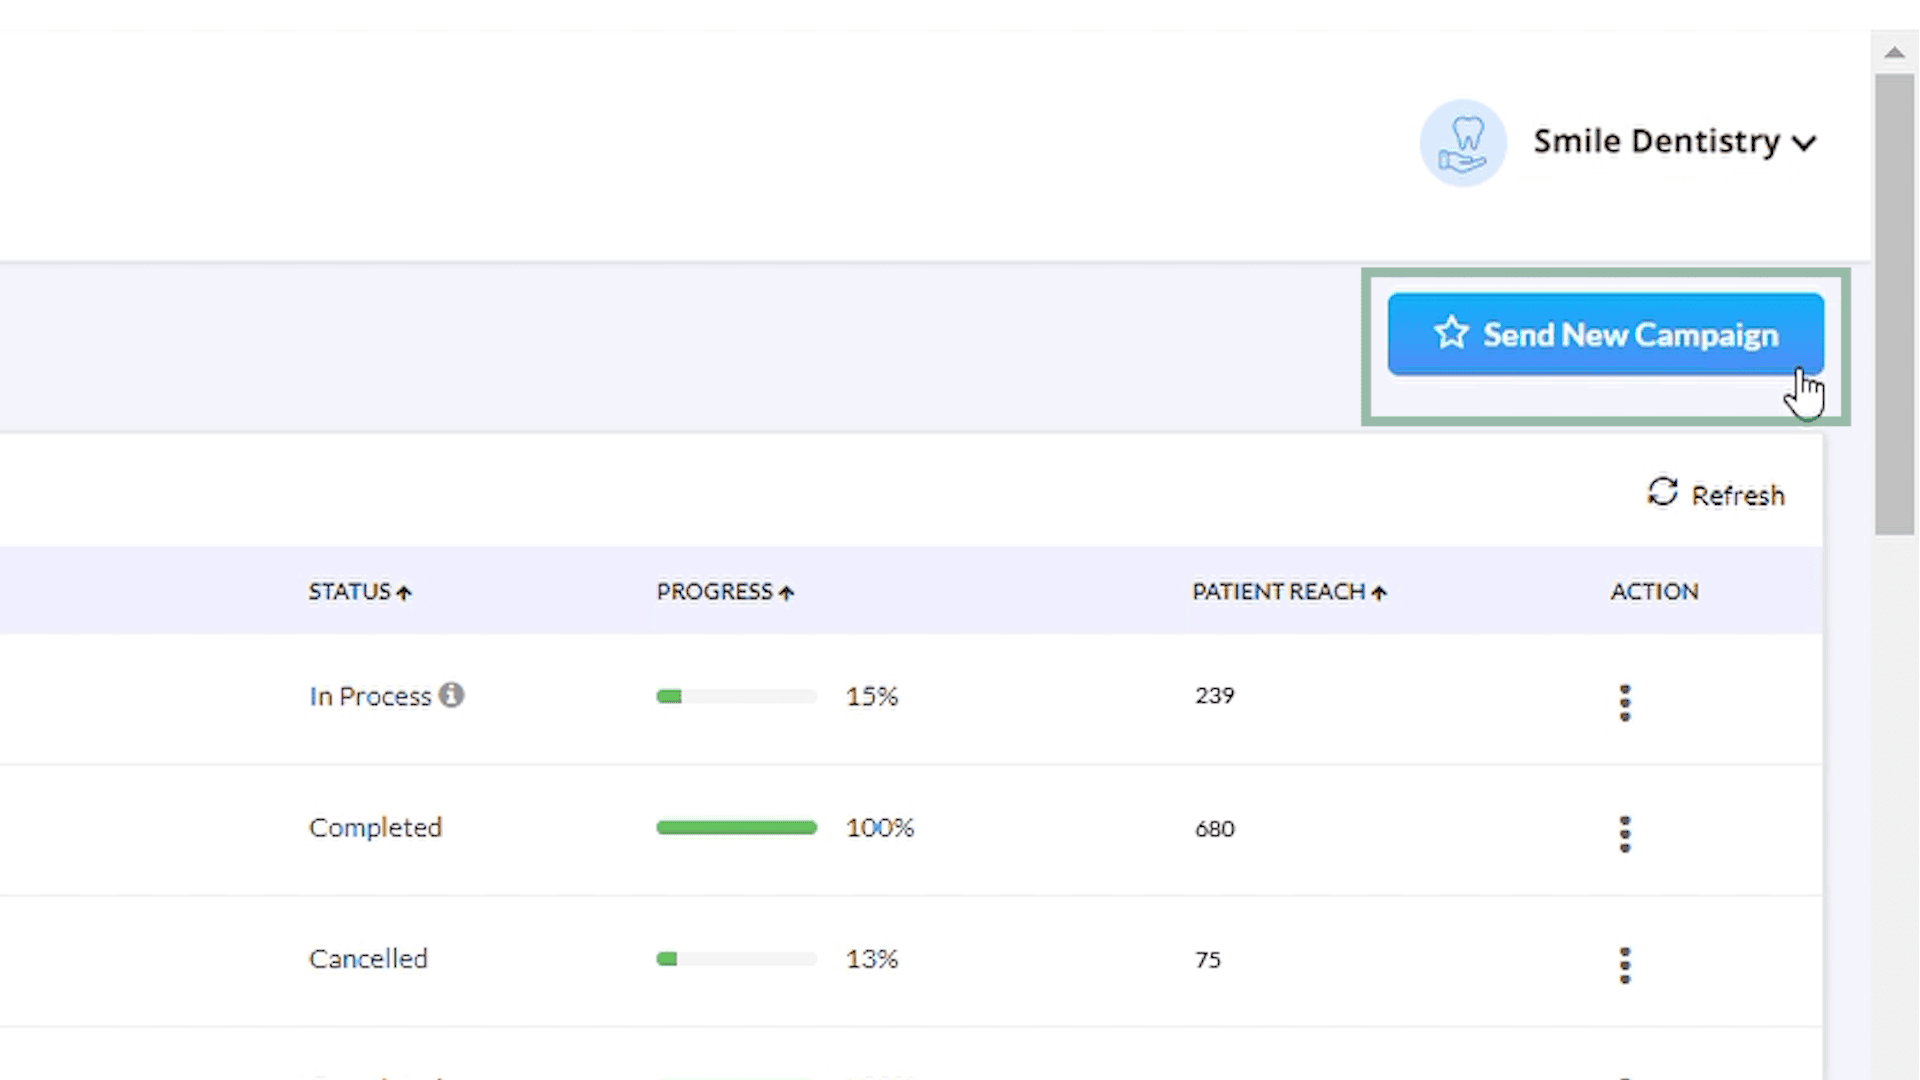
Choose between the two ways of sending the campaign: Text Message or Email. Let's choose Email.
0:38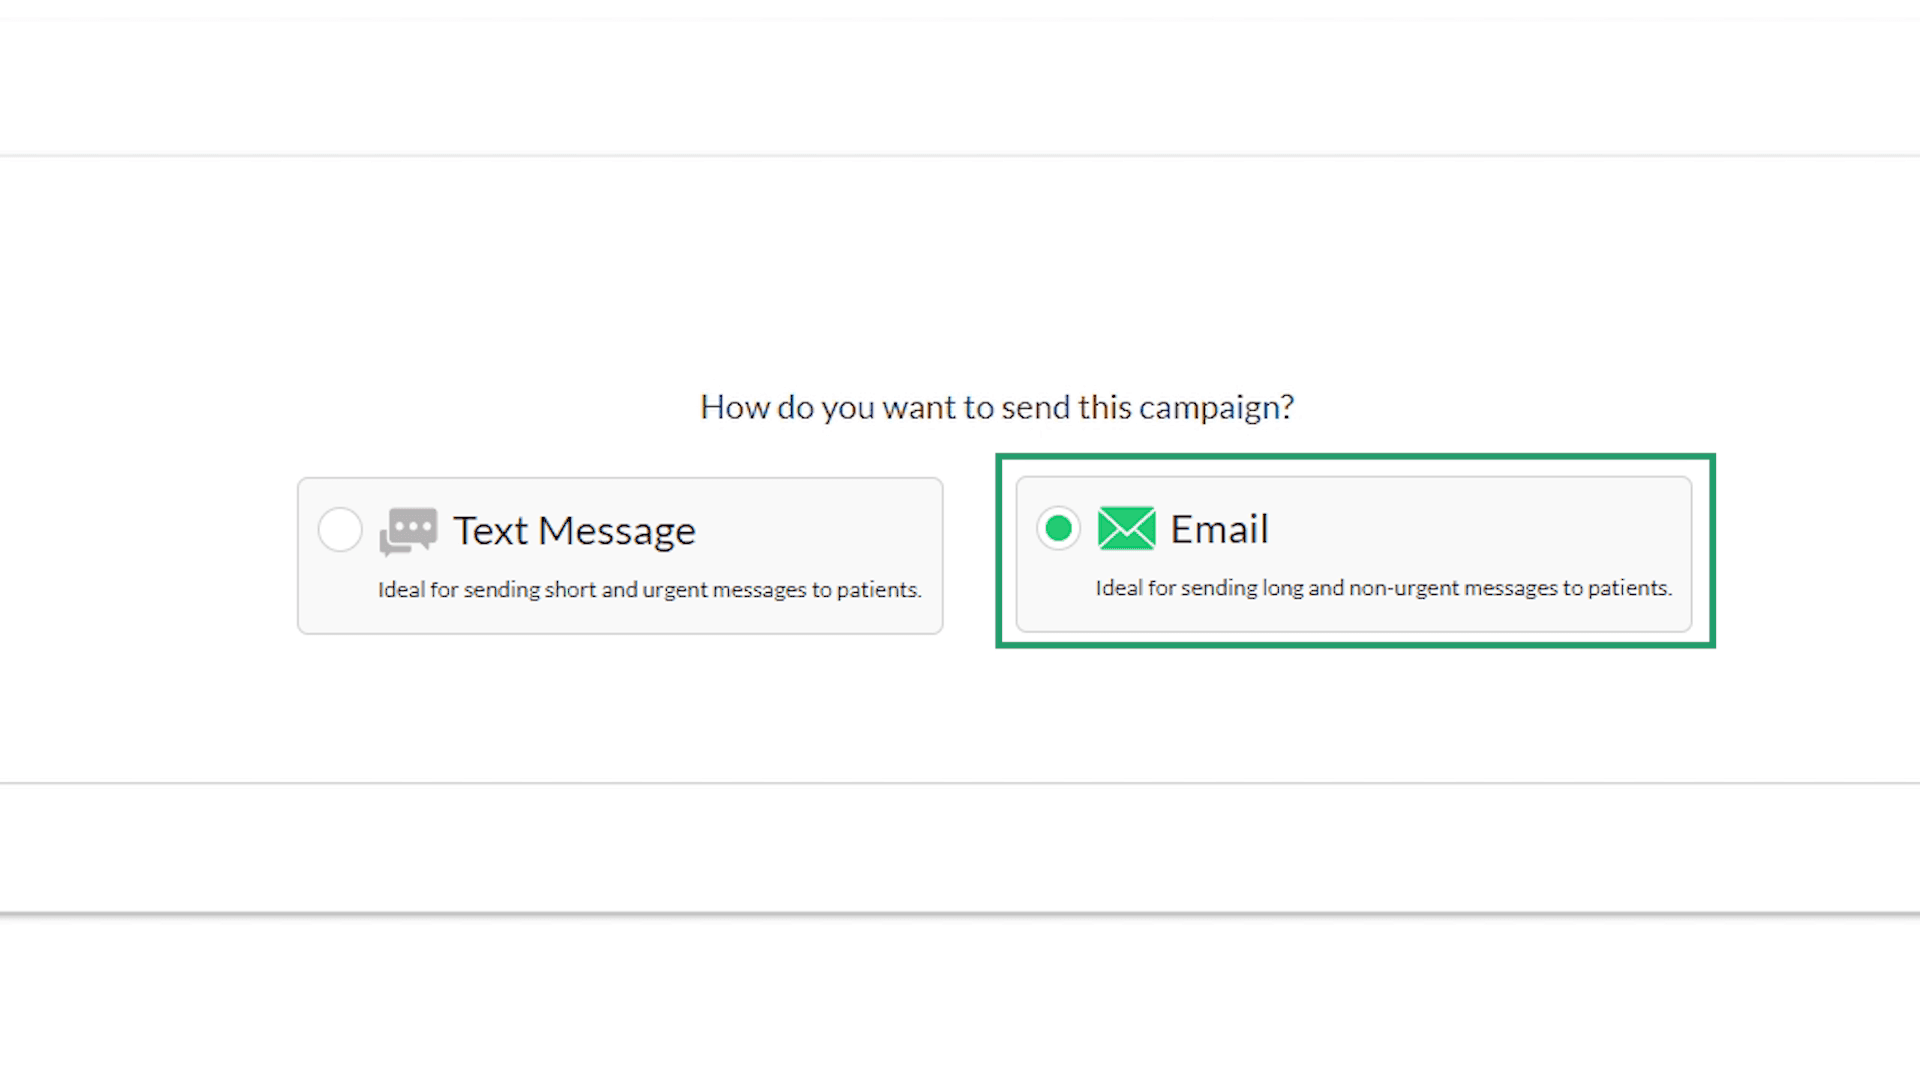
Select to whom you want to send the message to from the various alternatives available in the drop-down menu. Let's choose the first option
0:52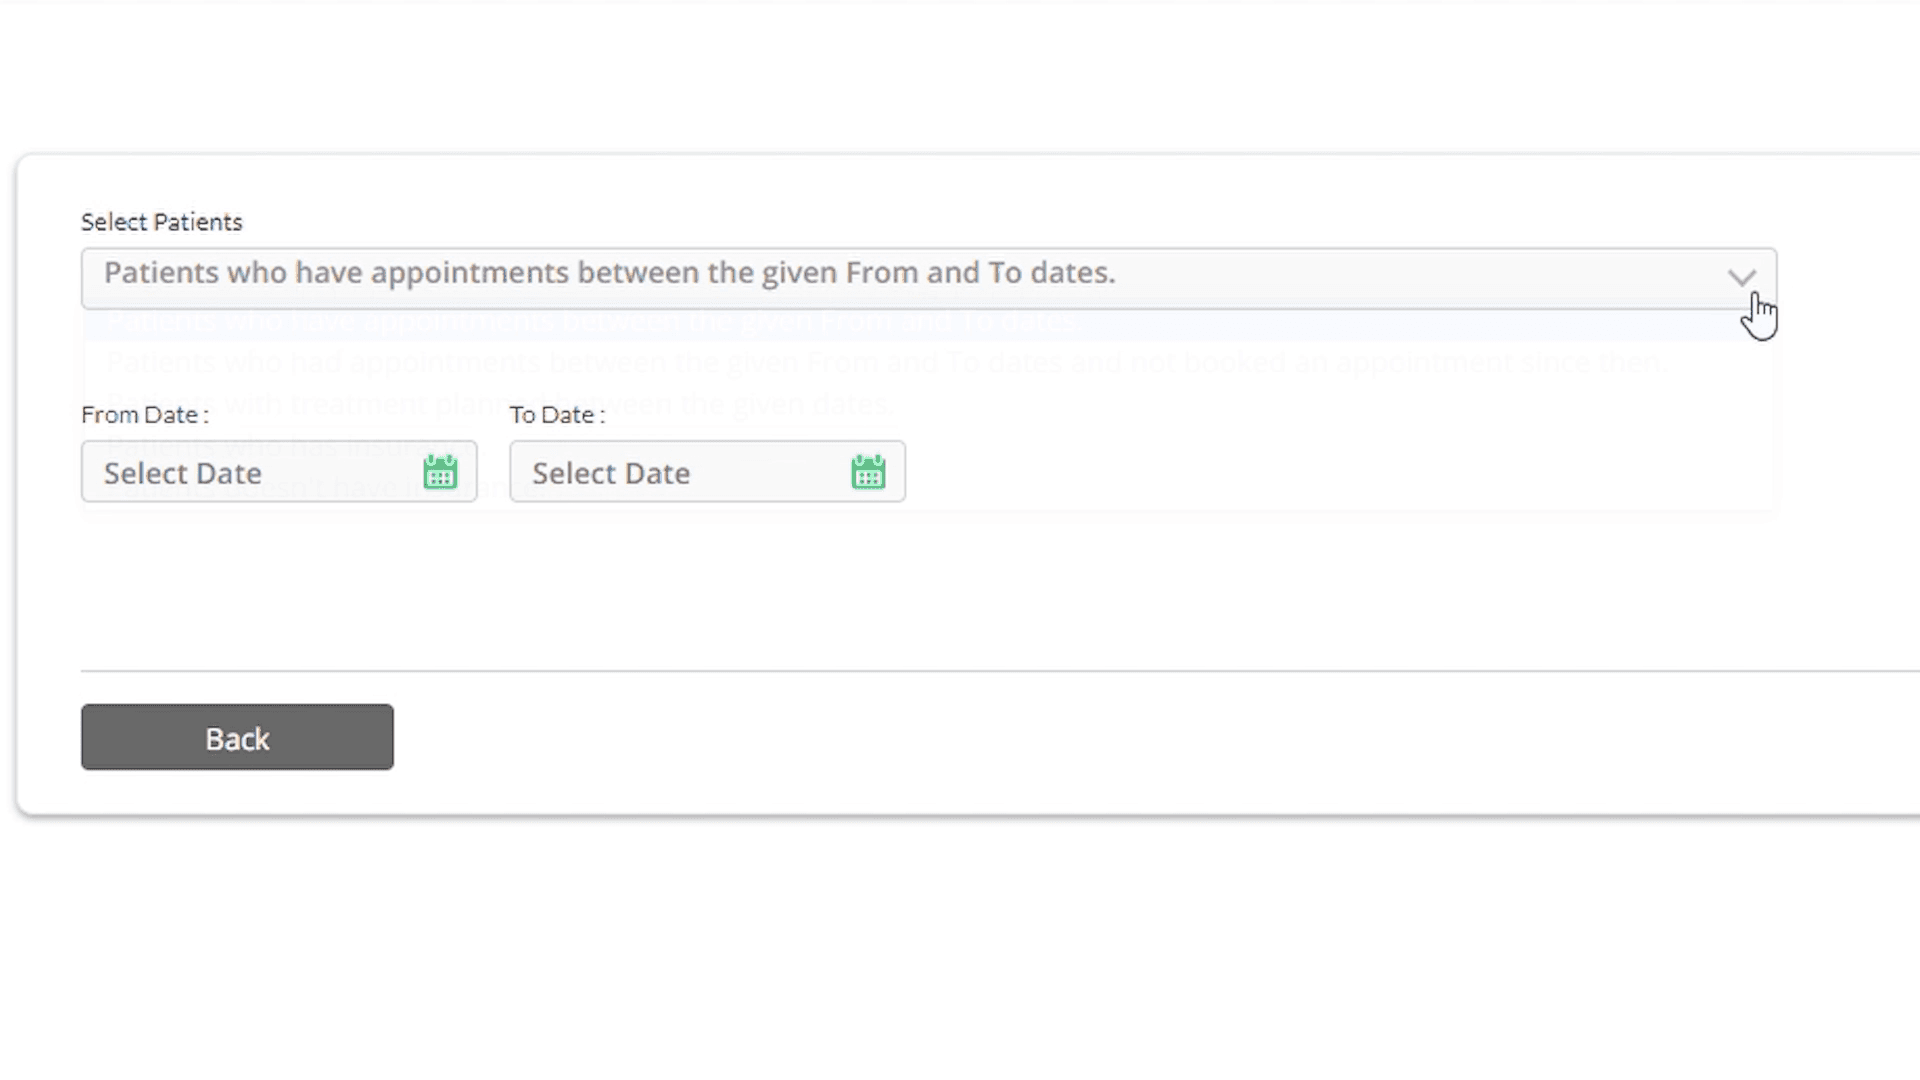
If you want to send the message to the patients who have visited in the last five years, specify the start and end dates by selecting the From And To dates.
1:05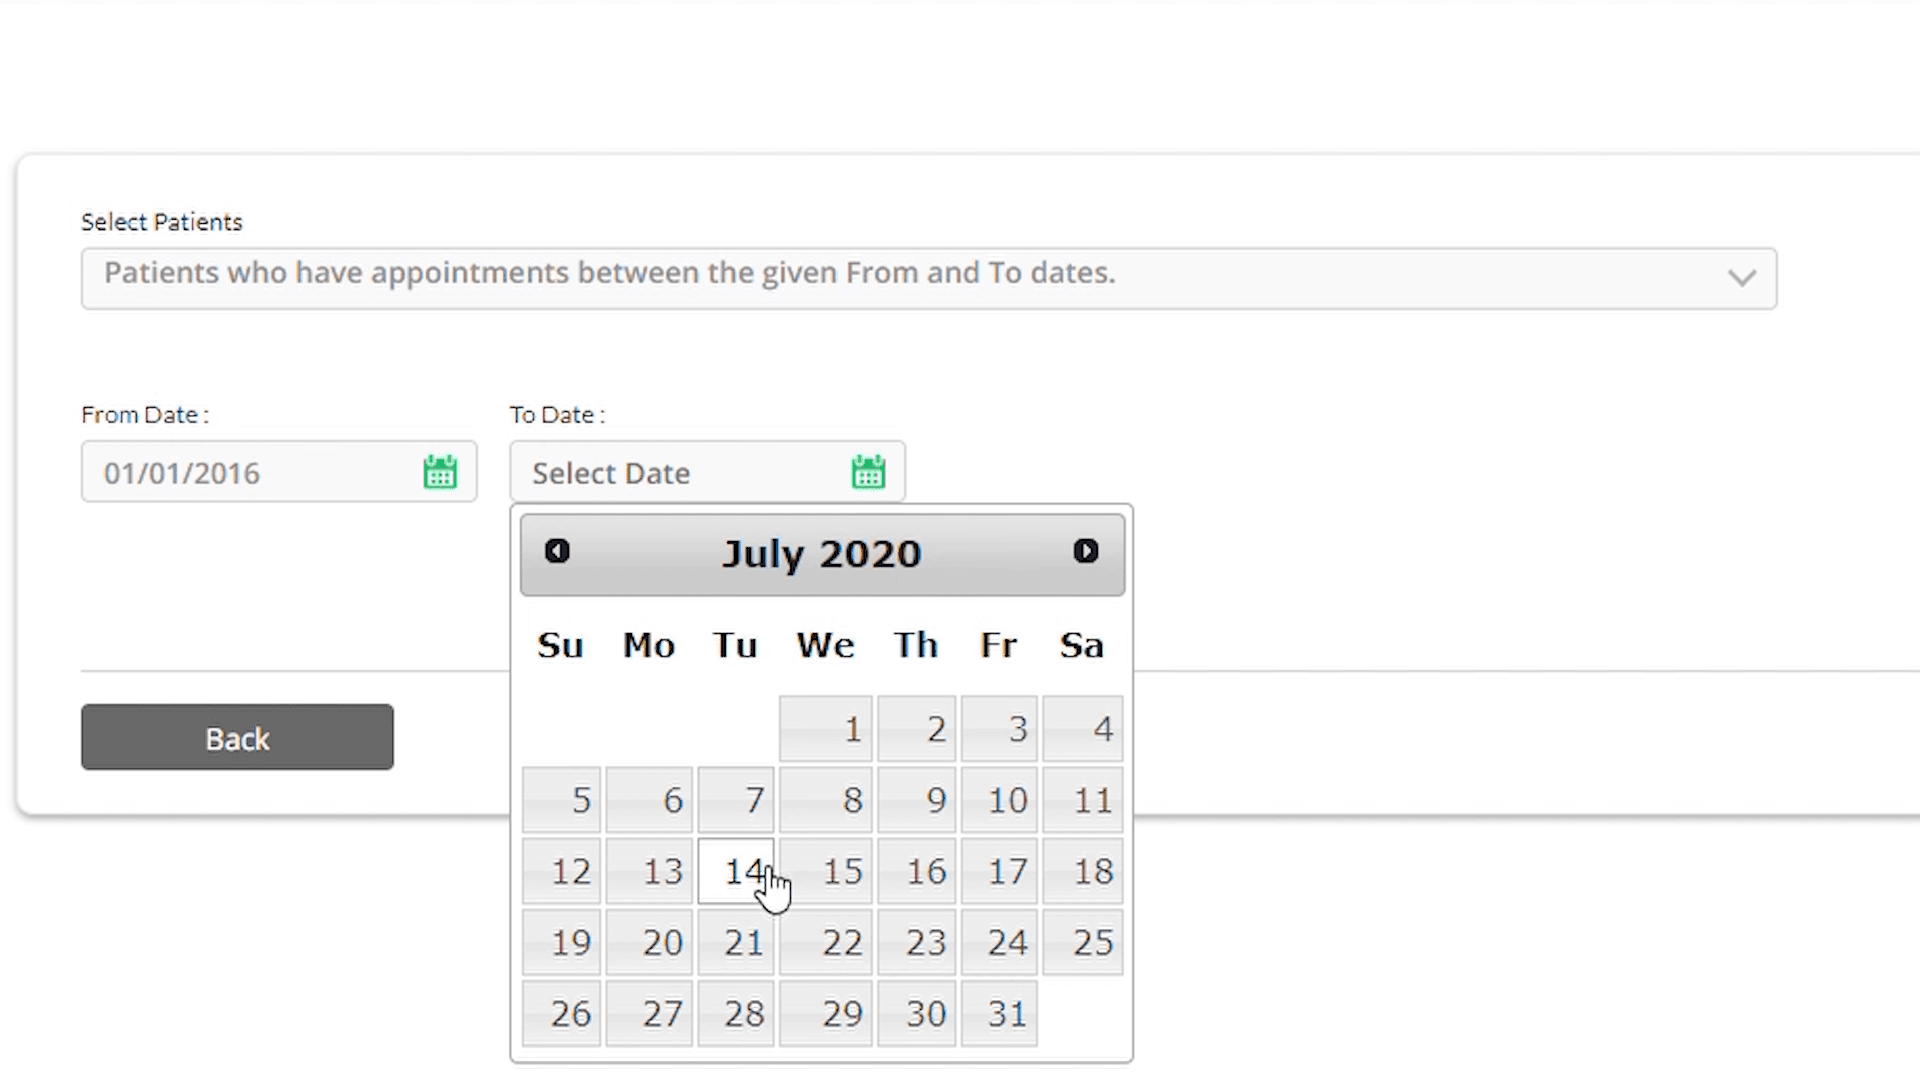
Select any of the predefined templates available. Let's choose the Dental Insurance Benefits Expiry Template.
1:18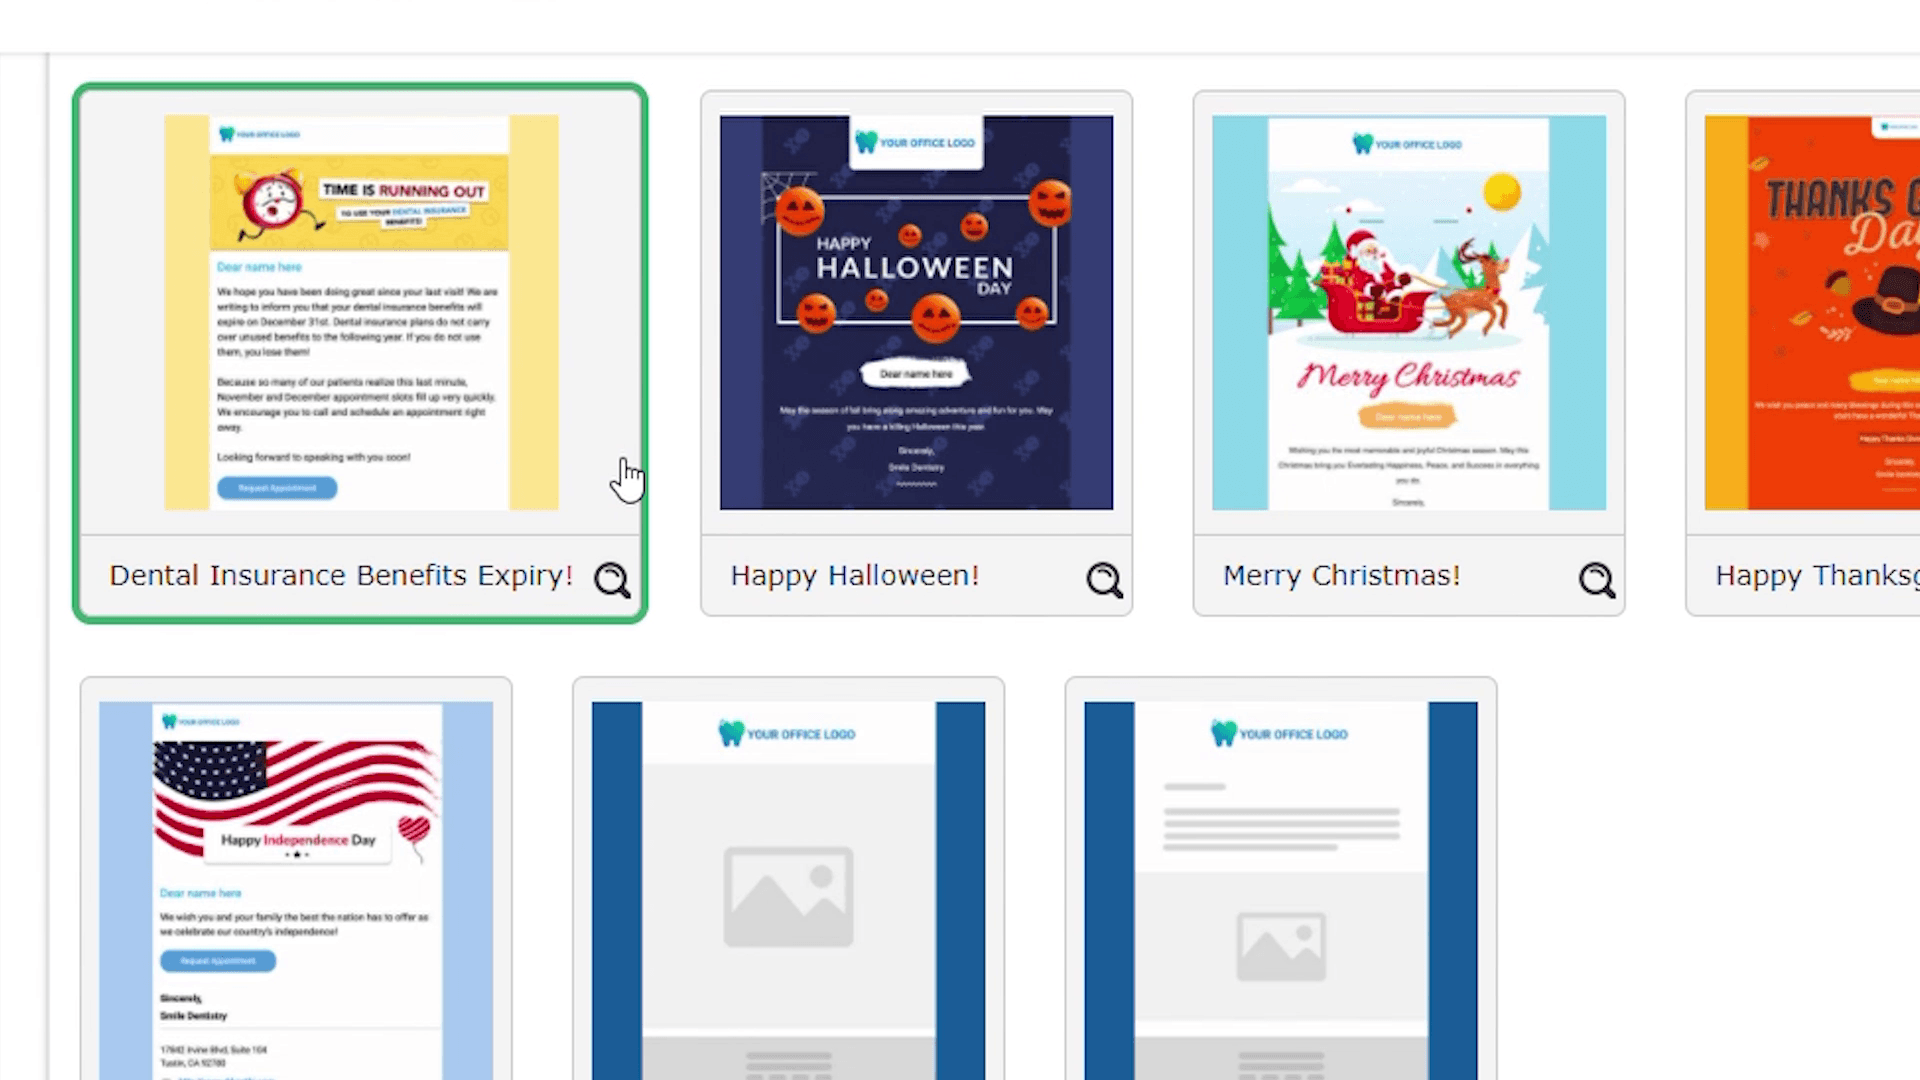
On this page, you will be able to make any changes to the content.
1:27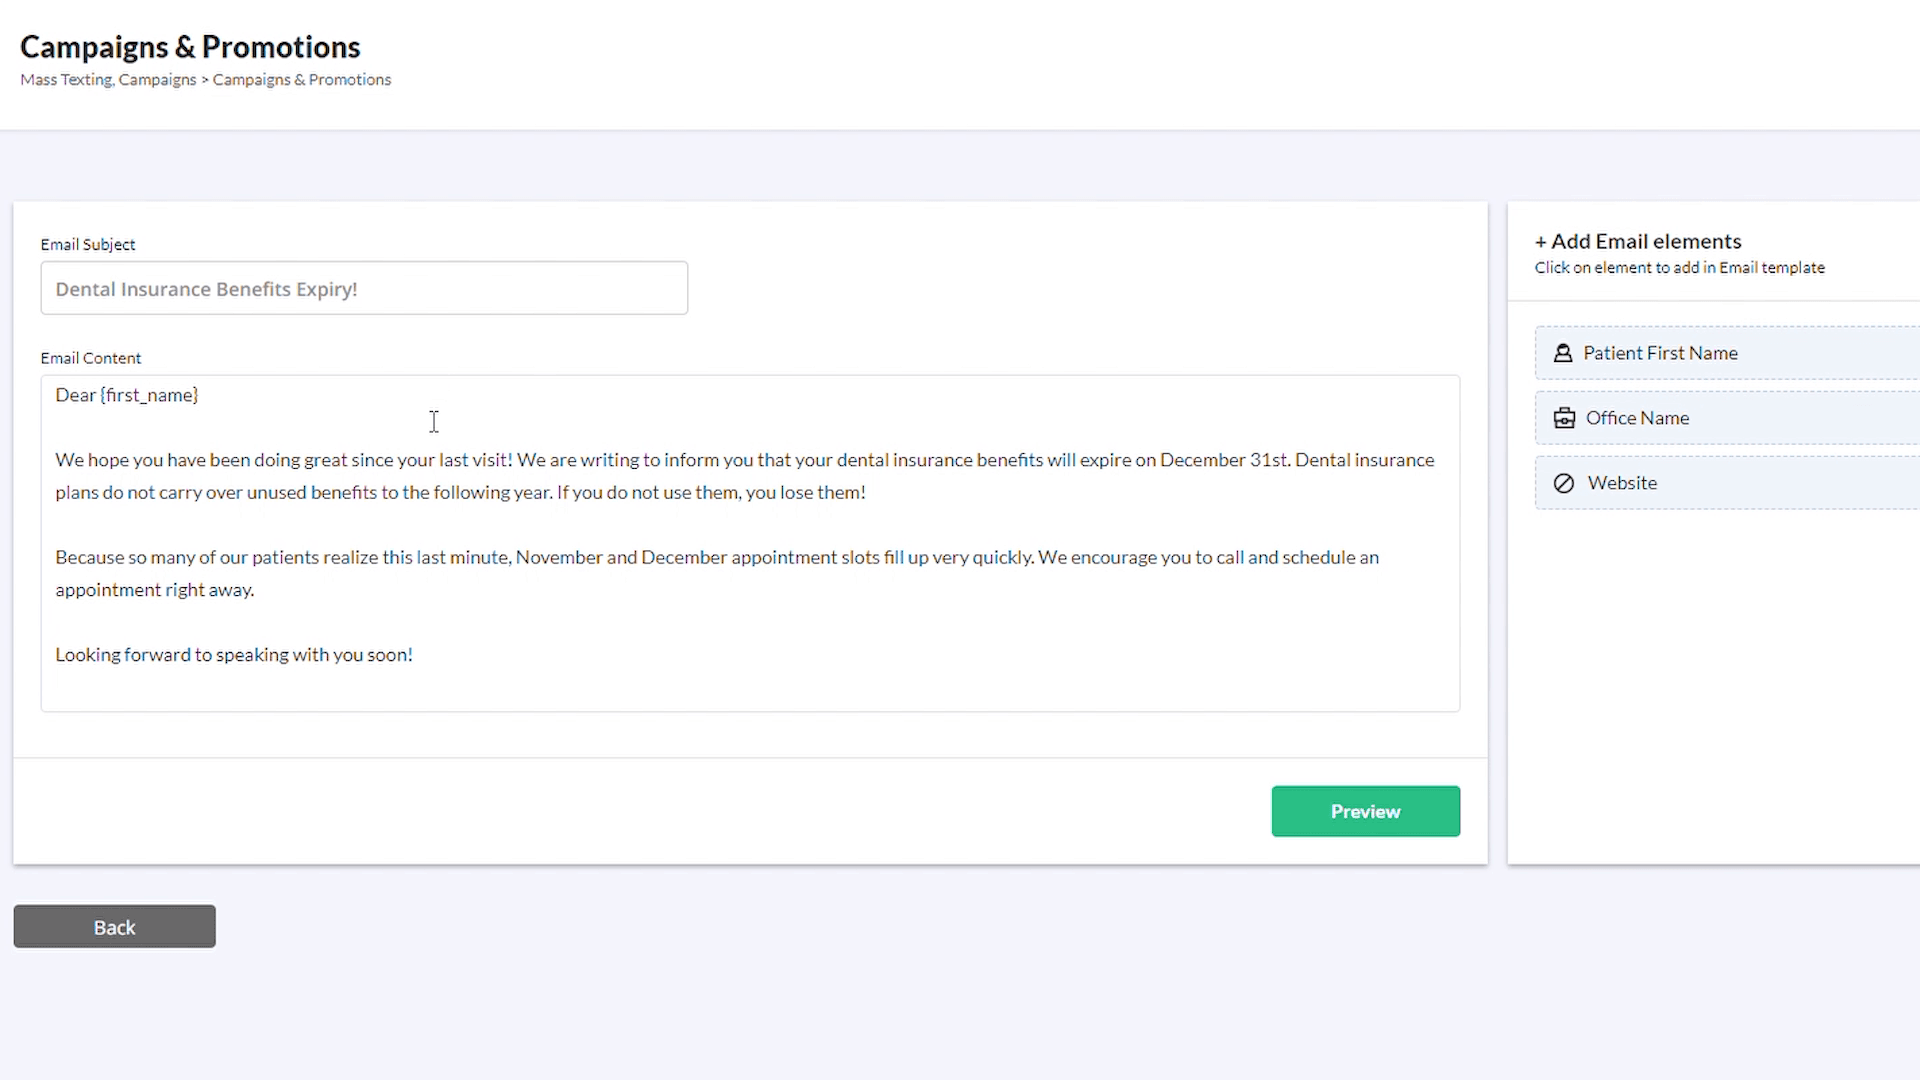
To Send a Test Email: -Click on the Preview button and type in your email and phone number. -If everything looks fine, Click on the Submit button. -On this page, you can review all the information that was entered in the previous screens. -If you need to make any changes , you can always click on the Back button. If satisfied, Click Send Now. -You will see a successful campaign submission message.
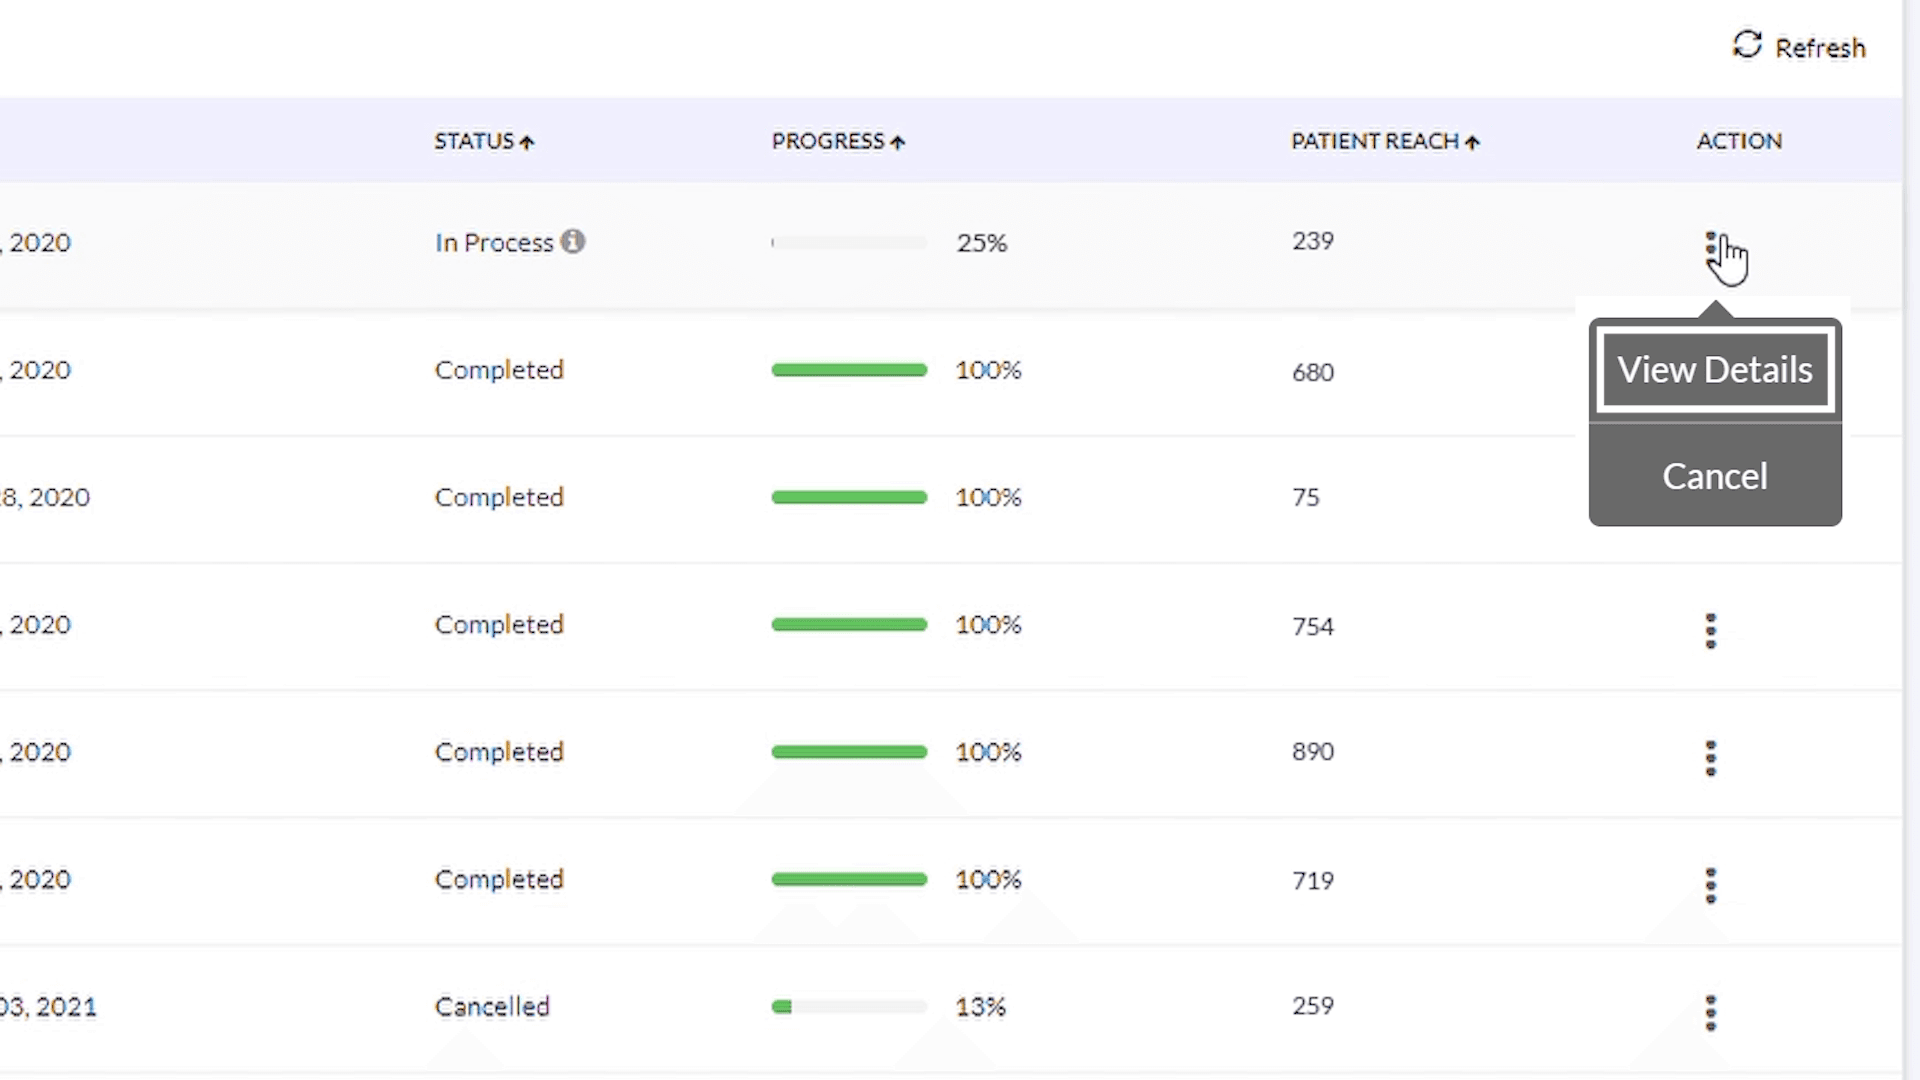
1:40, 1:58, 2:09Return to the Campaigns page to see further details. View the list of patients to whom the message is sent by clicking the three dots in the Action column.
2:17